Securing your server is a crucial step when setting up a Virtual Private Server (VPS) from providers like DigitalOcean, Linode, or Vultr. This guide will walk you through the necessary commands and steps to ensure your server is set up securely.
1. Creating a VPS
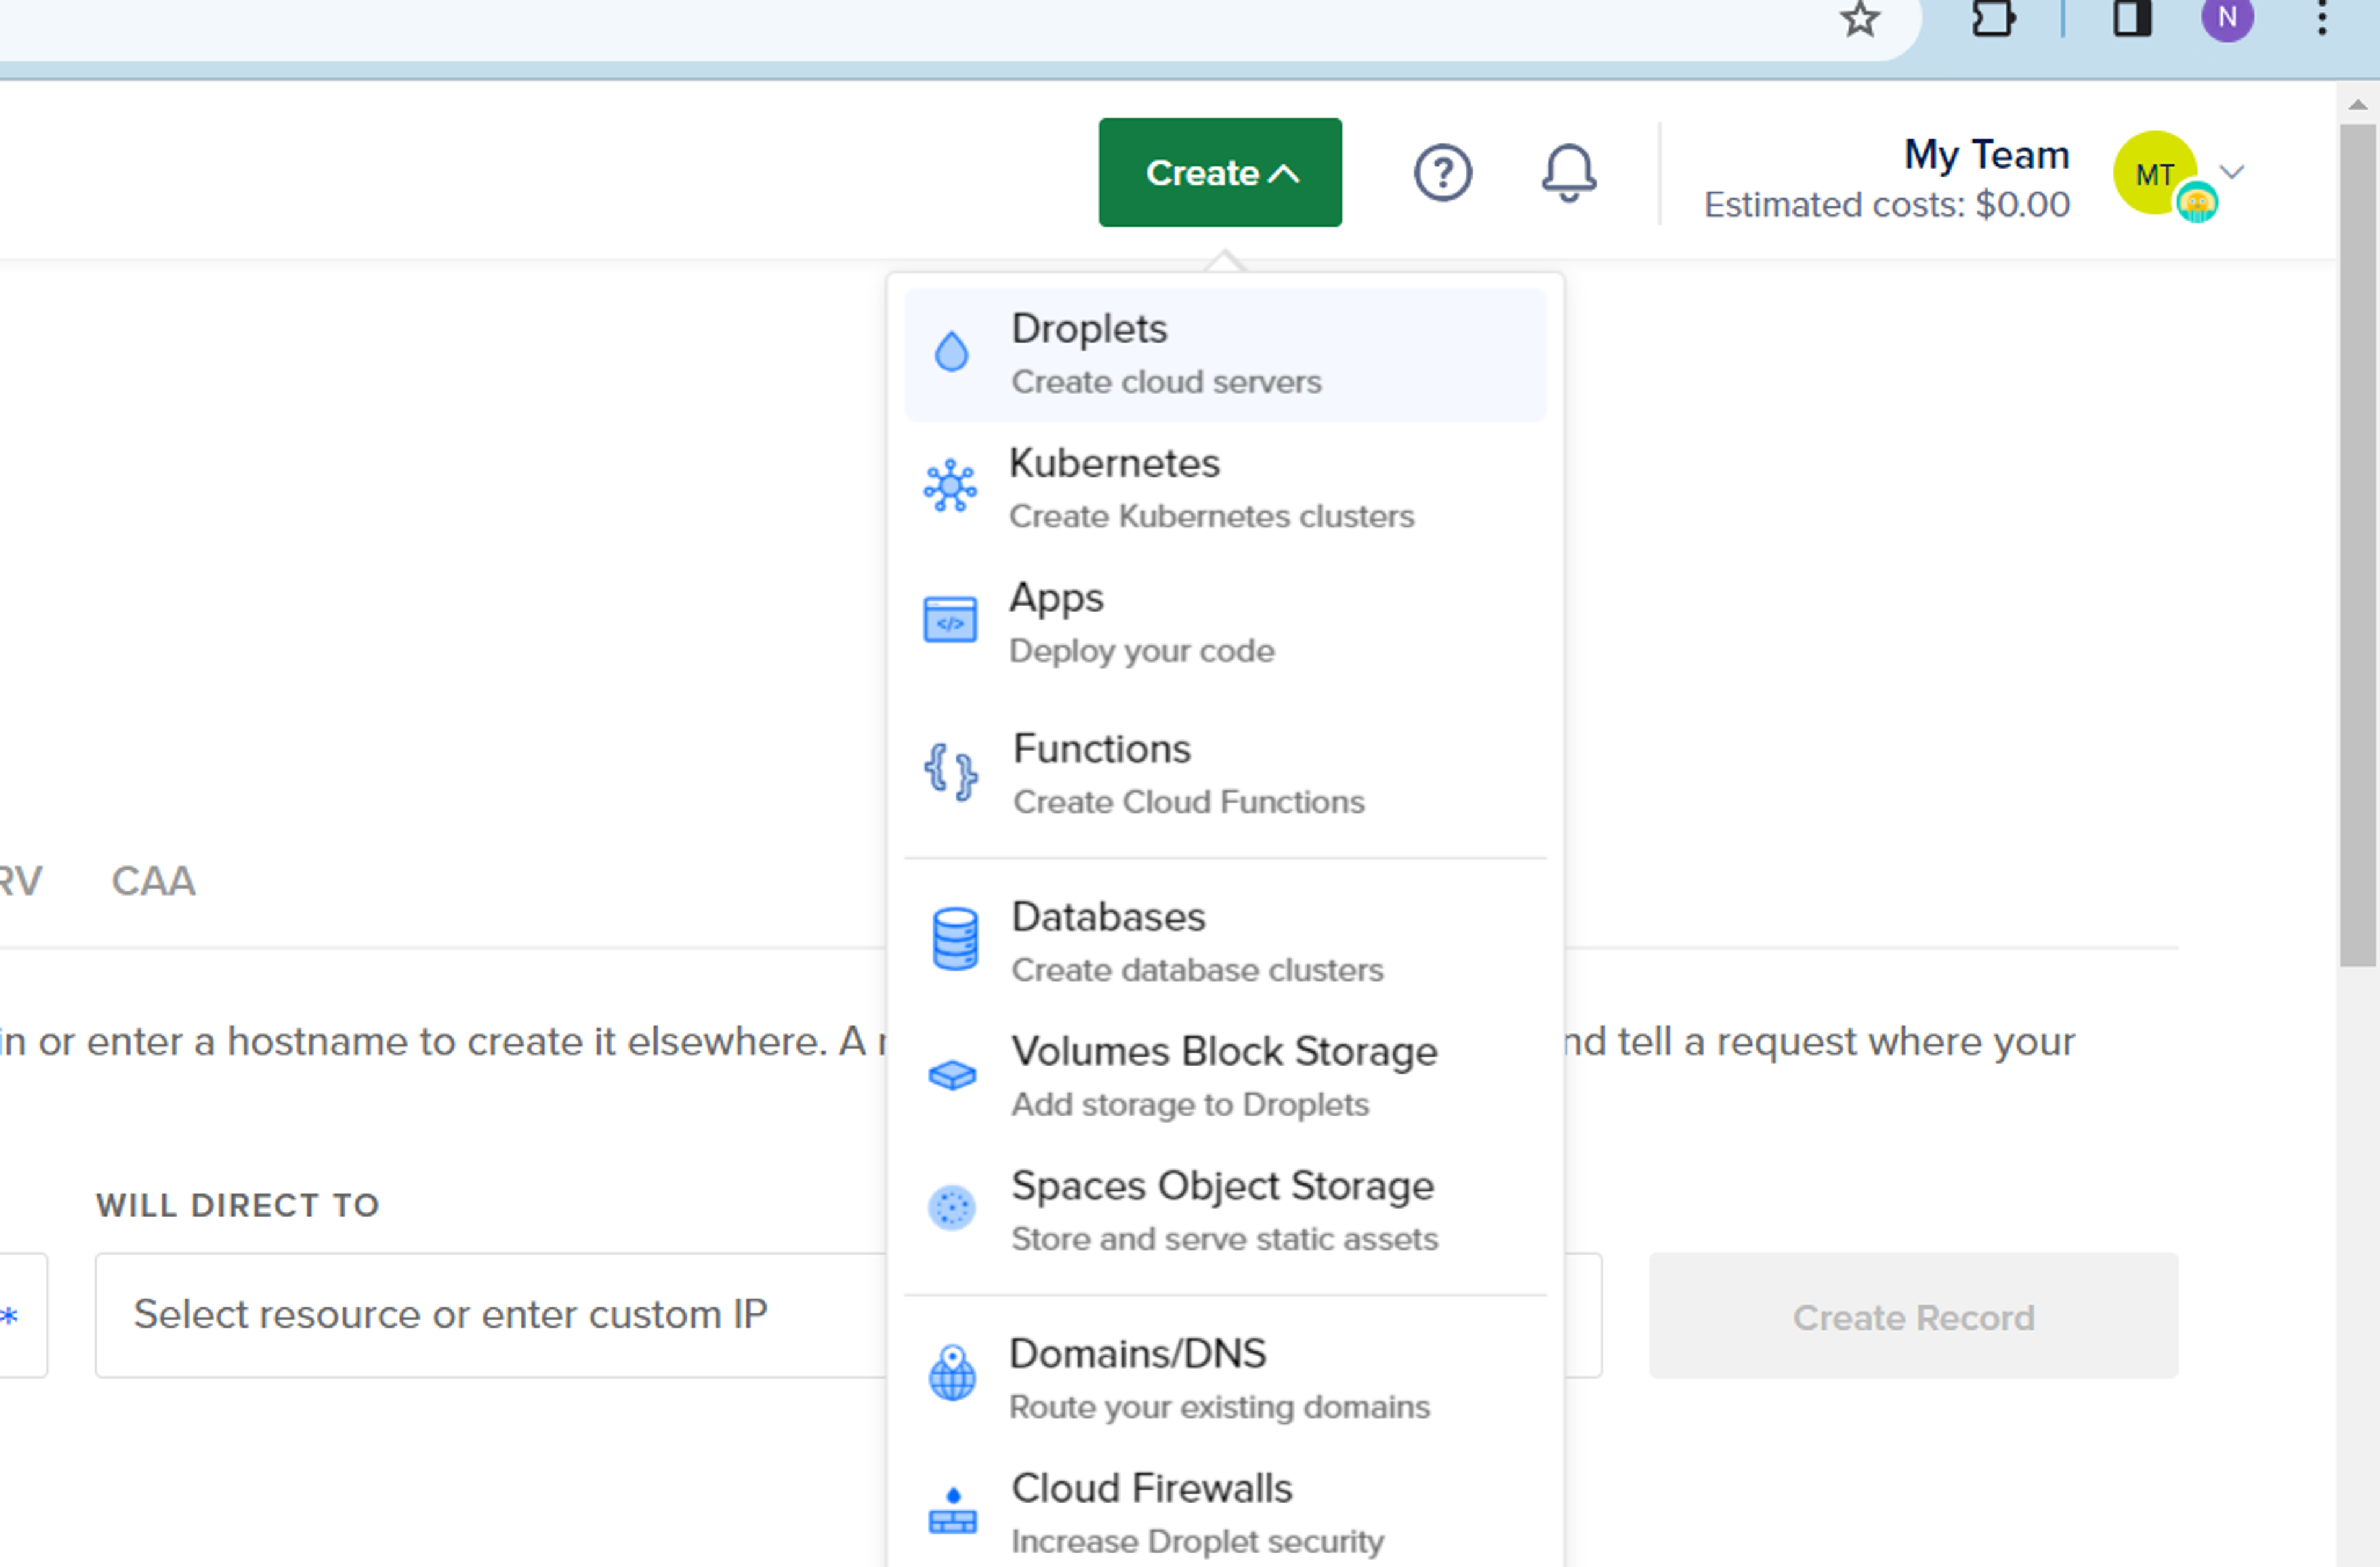
To start, we'll create a VPS using DigitalOcean:
- Create an account on DigitalOcean and log in.
- Click on "Create" and then "Droplets."

3. Select a region closest to your users.

4. Choose the droplet, operating system, and plan size.

After processing, you'll receive a public IP address, which we'll use for the next steps.
2. Initial Login
The first step is to log in. Since we can't physically connect a keyboard and mouse, we'll use an SSH client. Execute the following command in PowerShell or terminal:
ssh root@your_server_ipEnter the password created by you or provided by your service provider.
3. Creating a Non-Root User
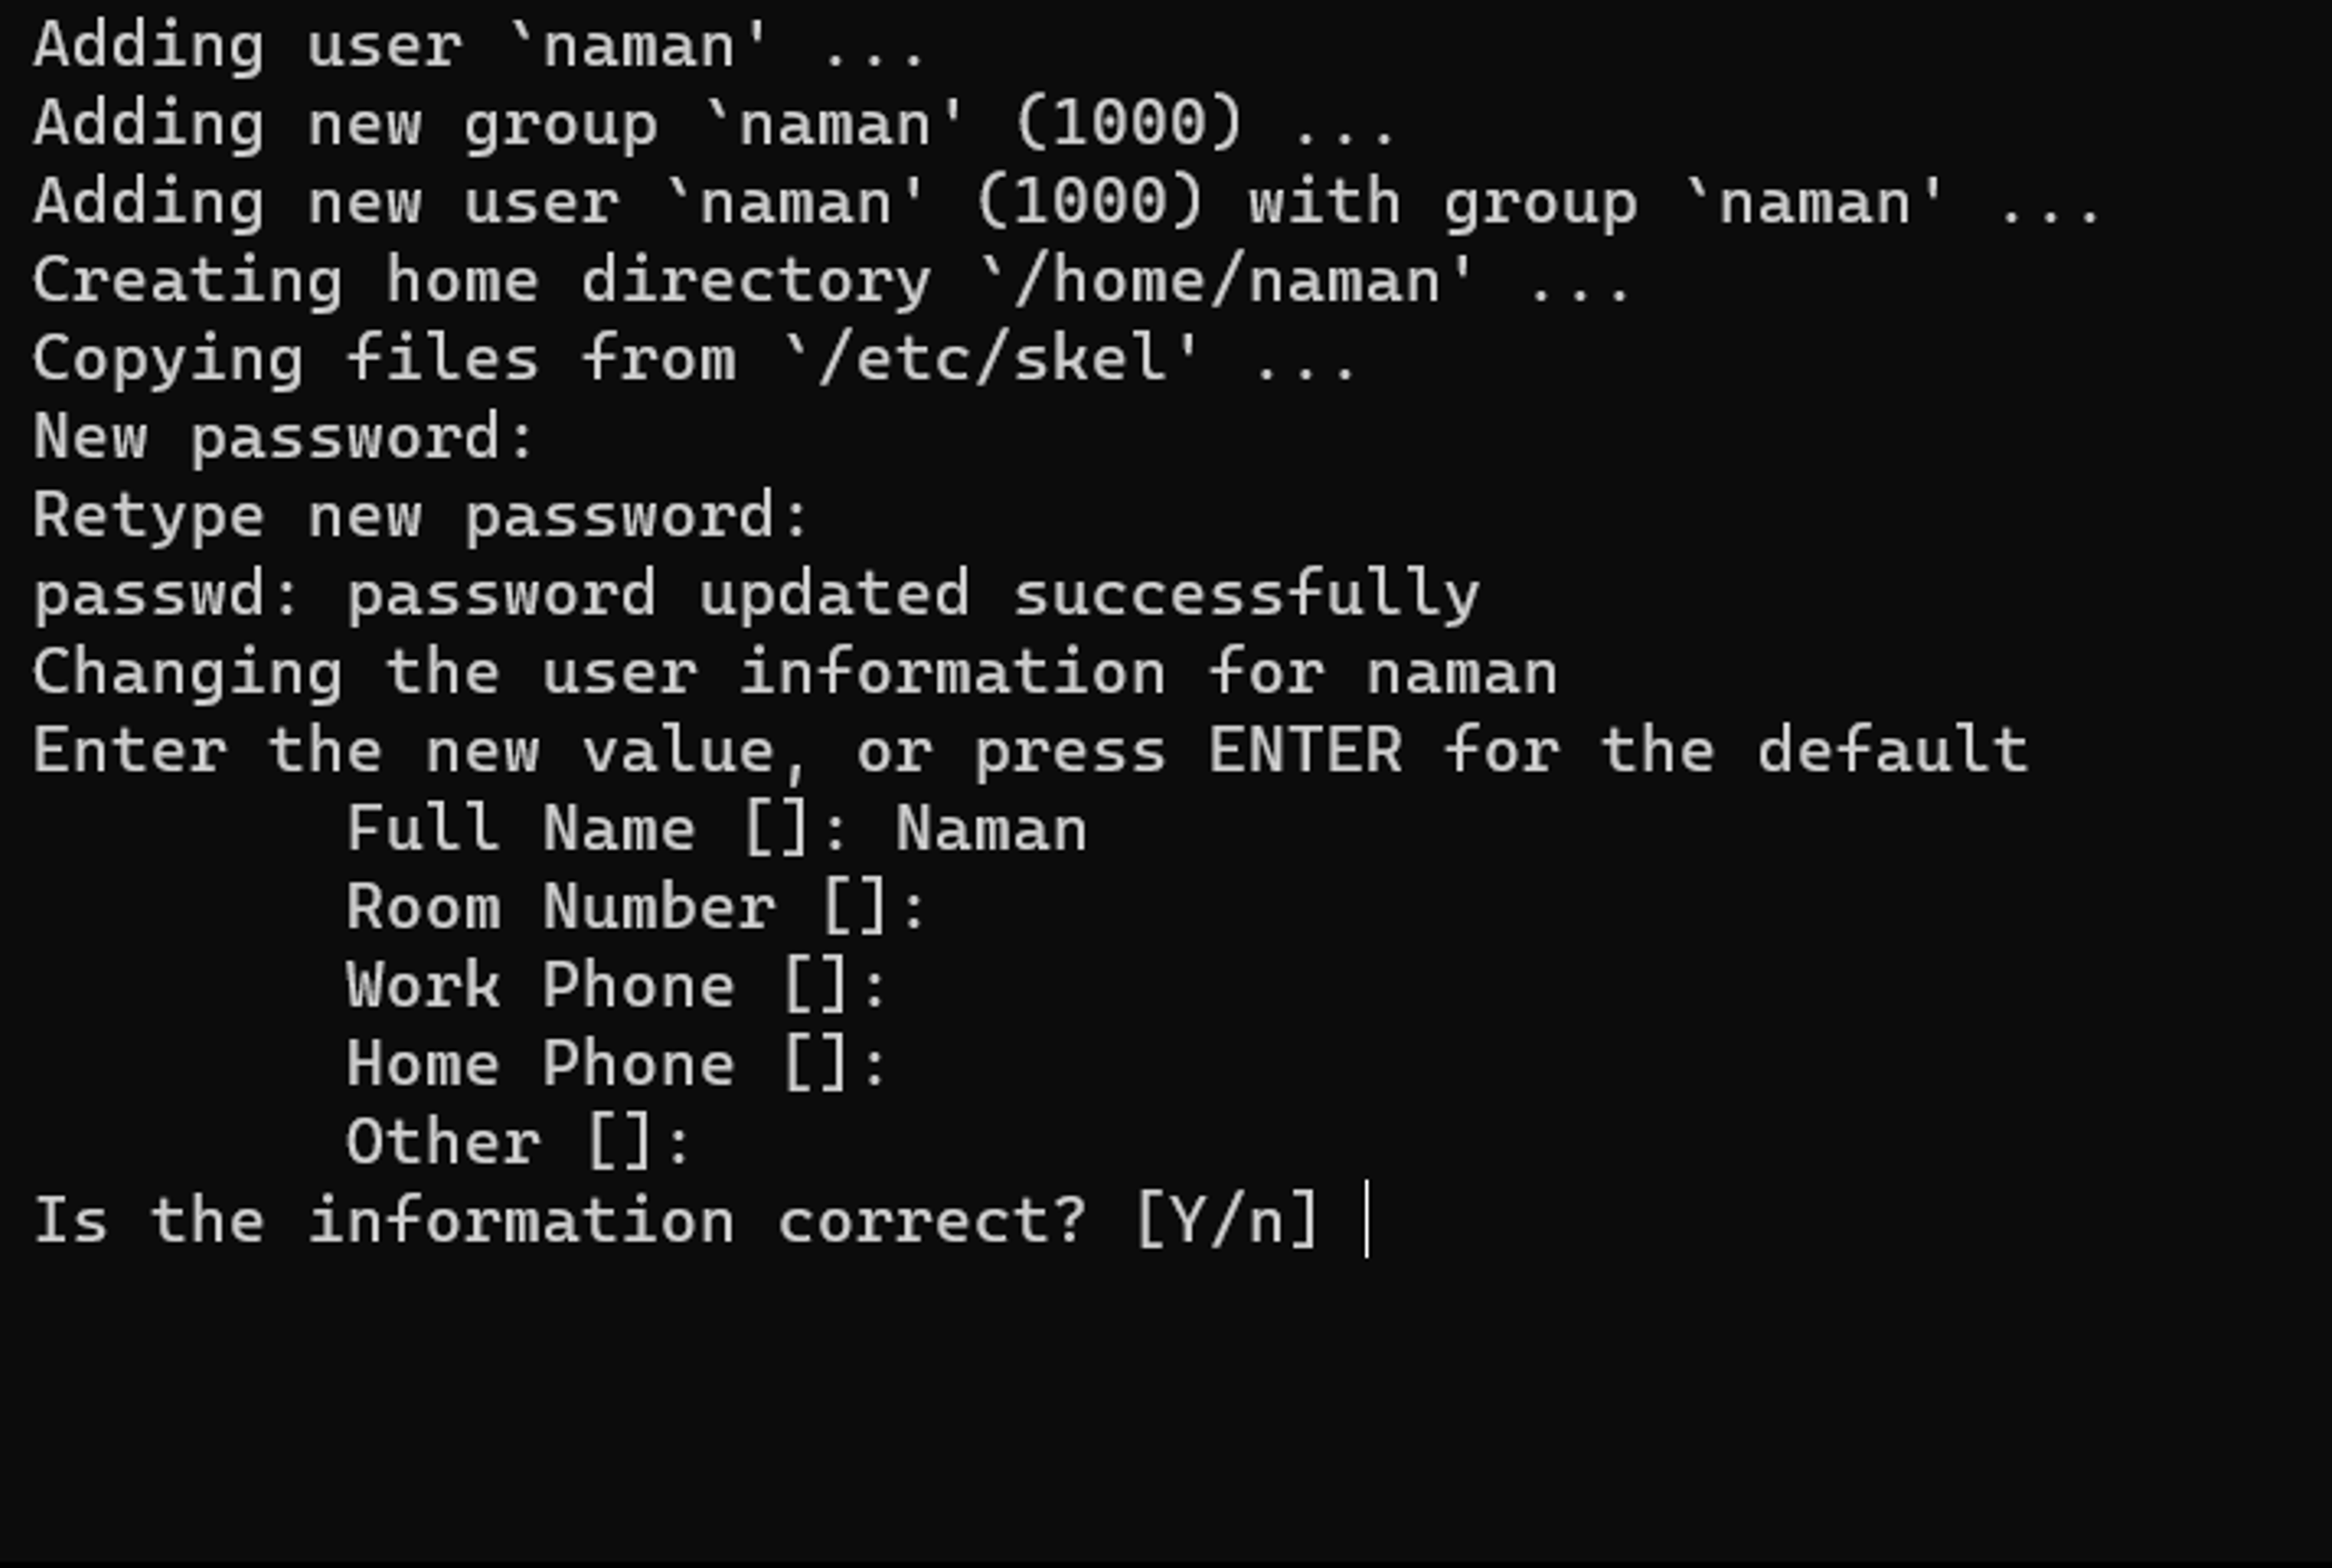
For security, create a non-root user with restricted access. Execute:
adduser namanFollow the prompts to set a strong password.

Grant root access when needed:
usermod -aG sudo naman4. Firewall Setup
Protect your public server by setting up the UFW firewall. Allow OpenSSH for remote access:
ufw allow OpenSSHEnable the firewall:
ufw enableThe firewall will now block all connections except SSH, enhancing your server's security.
5. Conclusion
In summary, you've created a VPS, performed the initial login, created a non-root user, and set up a firewall. Always test the new user's login before logging out. Consider additional security measures like strong passwords and regular software updates.
I hope this guide was helpful.
Happy Coding!

Naman Arora
Technical Author with a passion for translating the complexities of software, computers, and emerging technologies into accessible and engaging content. Armed with a background in computer science, I blend technical expertise with a flair for effective communication in my writing. Join me on this tech-savvy journey as we explore coding languages, unravel the nuances of software architecture, and stay informed about the latest tech trends. Let's navigate the digital frontier together!